Monday, October 18, 2010

My new Website


Hey guys ...
I've made my own website now and its up to date with my recent works
you can go and check it ;)

www.hmsabryworks.com

Sunday, July 6, 2008

Zdepth


hi all ...
this is how to use the Zdepth pass in after effects.
as you can see we add the Zdepth pass and we put the the color pass over the Zdepth and we hide the Zdepth pass.
and we add the depth of field Effects on the color pass and we locate the depth pass on the filter to the Zdepth layer
then we give a value to the radius of the filter then we pick the point of focus.

thats it.

Thursday, June 26, 2008

Ring challenge


hi all now i will explain how i do it ?
what passes i render it ? and how ?
how i composite it in after FX ?


here is the main lighting. an area light has been enabled the mentalRay area light check box in mentalray tab.
and i've connect a physical light "light shader tab in hypershader inside mentalray" to the light as a light shader in the mentalray tab in the light , and it's color is white and its value 1200.
*note .. when you connect a light shader to a light .. mentalray doest look to the light intensity but it read hte value from the light shader itself.
the physical light makes shadow so you dont have to enable the raytrace shadow.


i've added two spots with the same position of the area light. one of them will emit Gi photons and the other will emit caustics photons only to control each one easily (intensity)


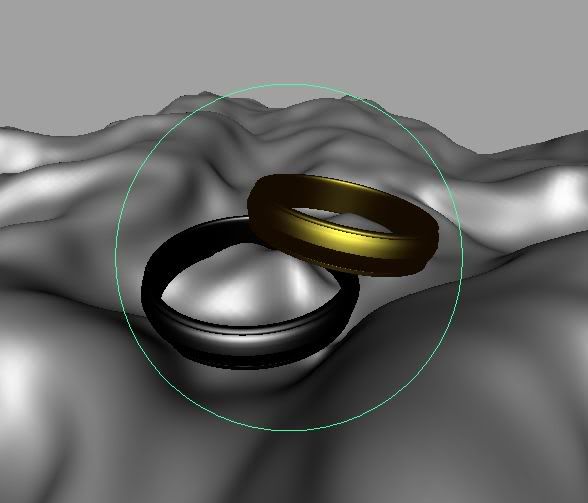
and this is the view of the spot. we dont want to loose any photons around the scene so i made this spot to just emit photons and concentrate it to the reflective OR refractive objects which will cast those caustics away.

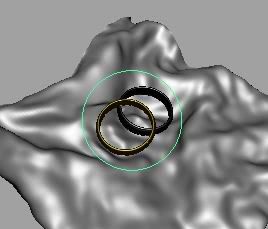
the caustics spot ..
  • photon intensity... 30.000
  • Exponent... 2
  • Caustics... 100.000
  • Gi... 0.0

the gi spot ..
  • photon intensity... 200.000
  • Exponent... 2
  • Caustics... 0.0
  • Gi... 500.000
back light...


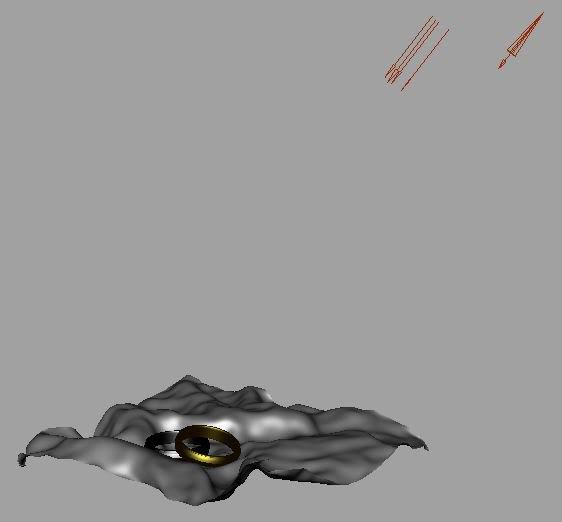
i made a directional light with intensity 1 and it casts a raytrace shadow
and i put a spot because of the same concept that i explain above but this i want it to emit caustics and gi to give a little light bounce from the back.


and this is the spot view
  • photon intensity... 150.000
  • Exponent... 2
  • Caustics... 100.000
  • Gi... 100.000
and i rendered these passes...


this is the color pass with Gi + FG
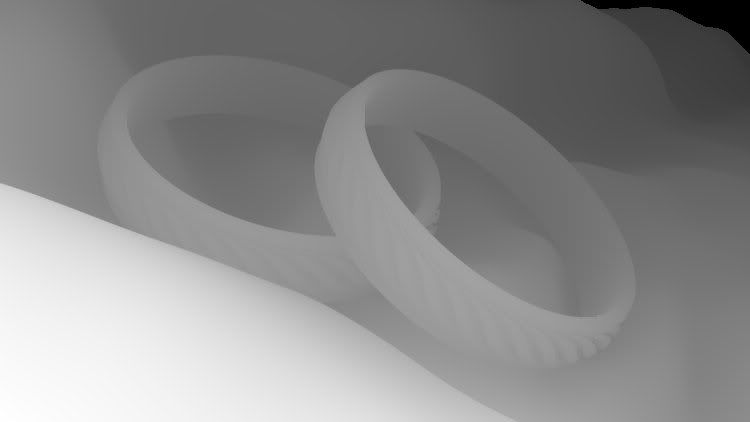

this is the Zdepth.

but that depth i made it by batch render -by choosing Zdepth option at the render globals- not a "render layer preset" because the preset will assign a shader which will render the surfaces not the displacement.
i preferred to -in this case which is (objects has displacement Or scene contains particles) - render it with the Z buffer which is maya gives because maya render the displacement and the particles "and particles instance" correctly and easily.

Monday, June 16, 2008

Anti-Aliasing


Your image contains a lot of pixels, this pixels carries the RGB color.
Look closely to the edge of the square, you will see it sharp because of the square's edges go strait with pixels.
*with zoom
But when you draw a line is not strait the line will pixellate.


so if we need the edge go sharp so we need to add more pixels to decrease this pixelation


3D World
in the 3d world we have the anti-aliasing,this is the process which we decide for how much pixels will be added.

we have 2 deferent ways in AA (anti-aliasing)
  • Fiixed samples
  • Adaptive samples
Fixed samples..
you are tilling maya that i want you to raise the pixels in all over the image whether there is a curve needs pixels or there is not ..!! and thats tooooo much money.

Adaptive sampling..
you are tilling maya that i want you to raise the pixel at the places that needs more pixels


as shown the pixelated edge for the low samples.

with adaptive samples you determine the min. and max. values for the samples ....
min = at least add pixels with this rate.
max = add pixels but dont go high than this rate.


*the black grid this is the pixels

there is an under sampling and over sampling

Oversampling means that the pixels subdivide in X and Y axis.
one division = 0 , two divisions =1 , three divisions=2 , .... and so on

Undersampling means that combine more than one pixel in one sample
combine 4 pixels = -1 , combine 8 pixels = -2 , .... and so on

so there must be a minimum and maximum value for sampling like
-2,0 -1,1 0,2 1,3


So the adaptive sampling we add more pixels at places that needs more pixels .. and the places that doesn't need more pixels we never add pixels.
So..
there is very important thing in maya and there is very very few people that use it ... Samples Diagnose
Samples diagnose shows you the way that the samples spread in the image


(to activate the sample diagnose .. go to render global > diagnostic > check samples)

as you can see in samples -2,0 the samples (white dots) has been spread in a wide range and by raising the sample more pixels will be added and this will give a smooth curves

With contrast ... the less value you give the more samples will be pushed into the edges.
and if you see the render you will find the edges go sharp because the edges has more more pixels to smooth
but in -2,0 the samples was too low in the image so the edge is pixelated.


Sunday, June 15, 2008

Occlusion in dark ( OccId )

Hi all ..
the occlusion is a very important pass to add details to the image.
But there is a very beg deference between normal occlusion like the first image and occlusion in darks ONLY and this is the second image.

  • Normal Occlusion
  • Occlusion in dark
the occlusion in dark (occid) is showing the occlusion in darks according to the light and due to the Surface luminance node data.

Here is the connection...


the idea of the connection is..
we make a ramp from white to black and map it to the color of the color of the surface shader and and then i create a surface luminance and connect it to the ramp as Out value > V cord 
so the shader will look like the cartoon shader the ramp will be mapped as the direction of the light goes.
so we create a mib_amb_occlusion and connect it to the black color of the ramp and with this will are tilling maya to put the occlusion in the dark side of the object (according to the light)

an example ...